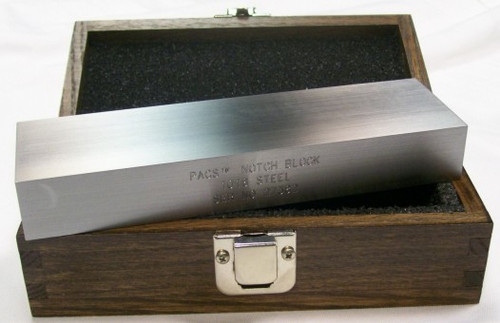
Description
Phased Array Calibration Standard (PACS®) used for angle beam verification, probe angle exit point, calibration for wedge delay, sensitivity, DAC/TCG for thicknesses up to 2.
Inch
The three radii (0.500, 1.000, 2.000) allow for exit point verification, velocity, and sound path calculations. Block contains five holes at 3/64 diameter drilled through the 1.000 width, located at 0.100, 0.200, 0.400, 0.600, 0.800, 1.200, 1.400, 1.600, 1.800, and 1.900 from the respective scanning surface. Generous hole spacing eliminated ghost images from adjacent holes. Also includes an engraved scale from 30° to 70° associated with the 0.800 hole for beam angle verification.
Dimensions: 18.0 x 2.0 x 1.0
In accordance with PH Tool Drawing No. 10173. Designed jointly by PH Tool LLC and Davis NDE.
Metric
The three radii (12.5, 25, 50mm) allow for exit point verification, velocity, and sound path calculations. Block contains five holes at 1.2mm diameter drilled through the 25mm width, located at 2.5, 5.0, 10.0, 15.0, 20.0, 30.0, 35.0, 45.0, and 47.5mm from the respective scanning surface. Generous hole spacing eliminated ghost images from adjacent holes. Also includes an engraved scale from 30° to 70° associated with the 20mm hole for beam angle verification.
Dimensions: 450mm x 50mm x 25mm
In accordance with PH Tool Drawing No. 10213. Designed jointly by PH Tool LLC and Davis NDE.
Davis NDE, Inc and the University of Ultrasonics, in partnership with PH Tool, developed this universal calibration block for use in Phased Array Calibrations and Examinations. Phased Array training for use with the PACS® block is available by contacting the University of Ultrasonics.


